Back to projects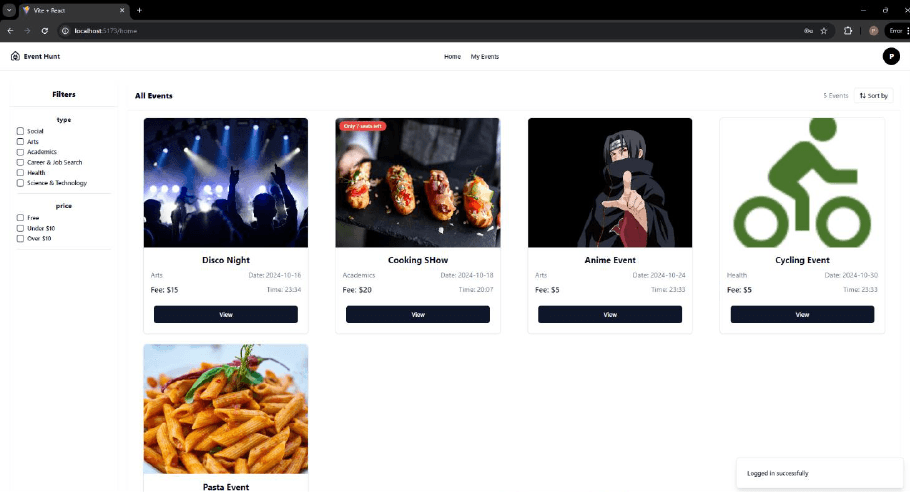
Event Management
Pakshal Ranawat / November 11, 2024
JavaScriptReactTailwind CSSNode.jsExpress.jsMongoDBJWTPayPal API
Features
Admin Panel
- Add Events: Admins can create new events, uploading event details like name, description, type, price, date, and participant limit.
- Edit/Delete Events: Admins can modify existing events or delete them as needed.
Student Panel
- Event Registration: Students can browse events, register for them, and complete the payment using PayPal.
- Event Filters: Students can filter events based on event type (e.g., social, academic, arts) and price range.
- Sorting Events: Events can be sorted by price, date, or other criteria.
- View Registered Events: Users can see the list of events they've registered for, and whether they have paid for those events.
- Leave a Review: After an event concludes, users can leave feedback or reviews for the event.
Tech Stack
-
Frontend:
- React: Single-page application framework for building the user interface.
- Tailwind CSS: Utility-first CSS framework for designing responsive and modern UIs.
- Shadcn and Lucid React: Libraries used for icons and UI components, ensuring a smooth and visually appealing interface.
-
Backend:
- Node.js: JavaScript runtime for the backend.
- Express: Web framework for building the REST API and handling HTTP requests.
- MongoDB: NoSQL database for storing user, event, and transaction data.
- Mongoose: Acts as a middleware for interacting with MongoDB.
-
Authentication and Security:
- JWT (JSON Web Tokens): Used for secure user authentication.
- bcryptjs: Library used for hashing passwords to ensure security.
-
Image Upload:
- Cloudinary: Used for hosting event images in the cloud.
- Multer: Middleware for handling image uploads from the admin panel.
-
Payments:
- PayPal API: Integrated to facilitate seamless payments for event registrations.
Setup Instructions
- Clone the Repository:
git clone https://github.com/PAKSHAL31/reactjs-mongodb-project.git - Install Dependencies
- Open Two Terminals
- In first terminal type:
cd server npm install npm run dev - In second terminal type:
cd client
npm install
npm run dev
- In first terminal type:
- Open Two Terminals
- Now run the application on the localhost.
Testing
The client folder contains a tests directory with test files to verify client functionality. To run a test:
- Navigate to test folder
cd client/tests
- Run a specific test file using:
node {test_name}.test.js